 Lead Recovery Desk
Excel or Google Sheets
Turn your spreadsheet into a simple contact file.
You do not need to rebuild your list. Make a copy, tidy one sheet, then save it as a CSV file for a private preview.
Before you begin
Open the spreadsheet on a computer. Identify the sheet containing your past customers or enquiries and check that you are allowed to use those records.
Work on a copy. Keep the original export safe. Remove unwanted rows and sensitive columns from the copy you will upload.
One CSV file, with a heading row and one contact per row. Your original workbook stays unchanged.
A CSV is a simple table saved as a file. It is not an email campaign.
Prepare your file
Use the instructions for your app. Menu names can differ by version and account permissions.
Make a working copy
In Google Sheets, use File → Make a copy. In Excel, save a copy under a new name, such as customers-for-review. Work in the copy from here onward.
Put headings in the first row
Use clear headings such as email, name, last_contacted and status. Remove title rows, merged heading cells, blank separator rows and totals. Keep one contact per row.
If you have several email columns, choose the relevant address for each contact rather than placing multiple addresses in one cell.
Remove private details, keep restrictions
Remove unrelated people and sensitive columns from the working copy. Keep known unsubscribe and bounce information. Do not change someone’s recorded status to make them appear eligible.
Excel: save the active sheet as CSV
Choose File → Save As (or Save a Copy), then CSV UTF-8 (Comma delimited) if available. Save the sheet holding your contact table. CSV keeps the table’s values, not workbook formatting or other sheets.
Google Sheets: download the current sheet
Choose the contact sheet, then File → Download → Comma-separated values (.csv, current sheet). Use the downloaded file, normally in Downloads.
Check the saved file, then preview
Check that the file ends in .csv and still has the right headings and rows. In LRD, select this file and review the detected columns before confirming.
A filtered or hidden row may still be present in an export. Inspect the saved copy; do not rely on what the spreadsheet happens to hide.
What your file should look like
Original LRD example with invented contacts. This illustrates the file you are preparing, not your provider’s screen.
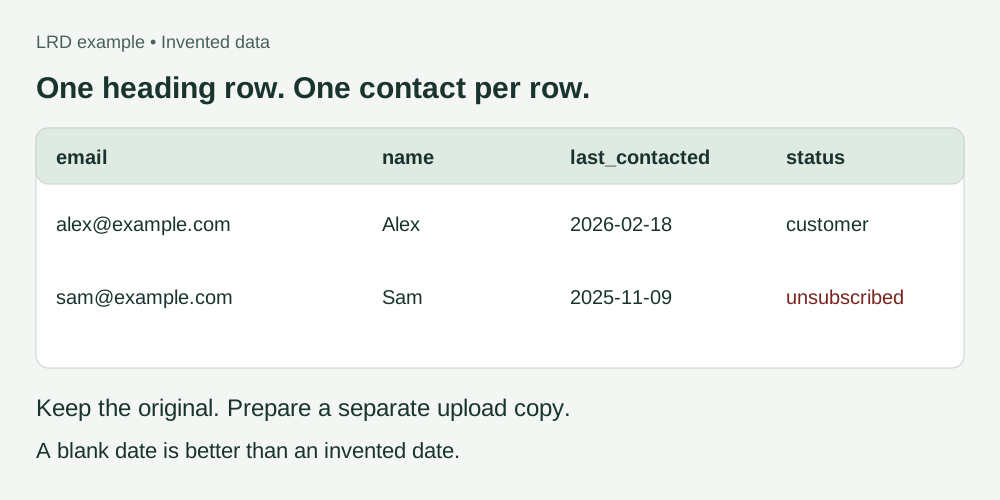
Keep it useful. Keep it private.
Keep the information needed for review and any known contact restrictions. Do not invent missing dates or permission.
Keep in your working copy
- email: the contact’s email address
- name: the person or business name, if useful
- last_contacted: a real last-contact date, if known
- status: preserve known unsubscribes, bounces and do-not-contact records
- source: where the record came from
Leave out of the upload
- Staff, suppliers and personal contacts
- Sensitive notes, health information and information about children
- Passwords, payment details and unnecessary addresses
Next: preview it in LRD
Check the detected columns, dates and restrictions before confirming anything. Use last_contacted for the last contact date and status for a contact’s recorded status.
CSV, TSV or plain text. Excel workbooks and ZIP files cannot be uploaded directly. Free previews share a 100-row allowance each calendar month across all lists.
Warm, Lukewarm and Cold group contacts by recency. They do not prove permission to contact someone. A file preview sends nothing.
Preview my list free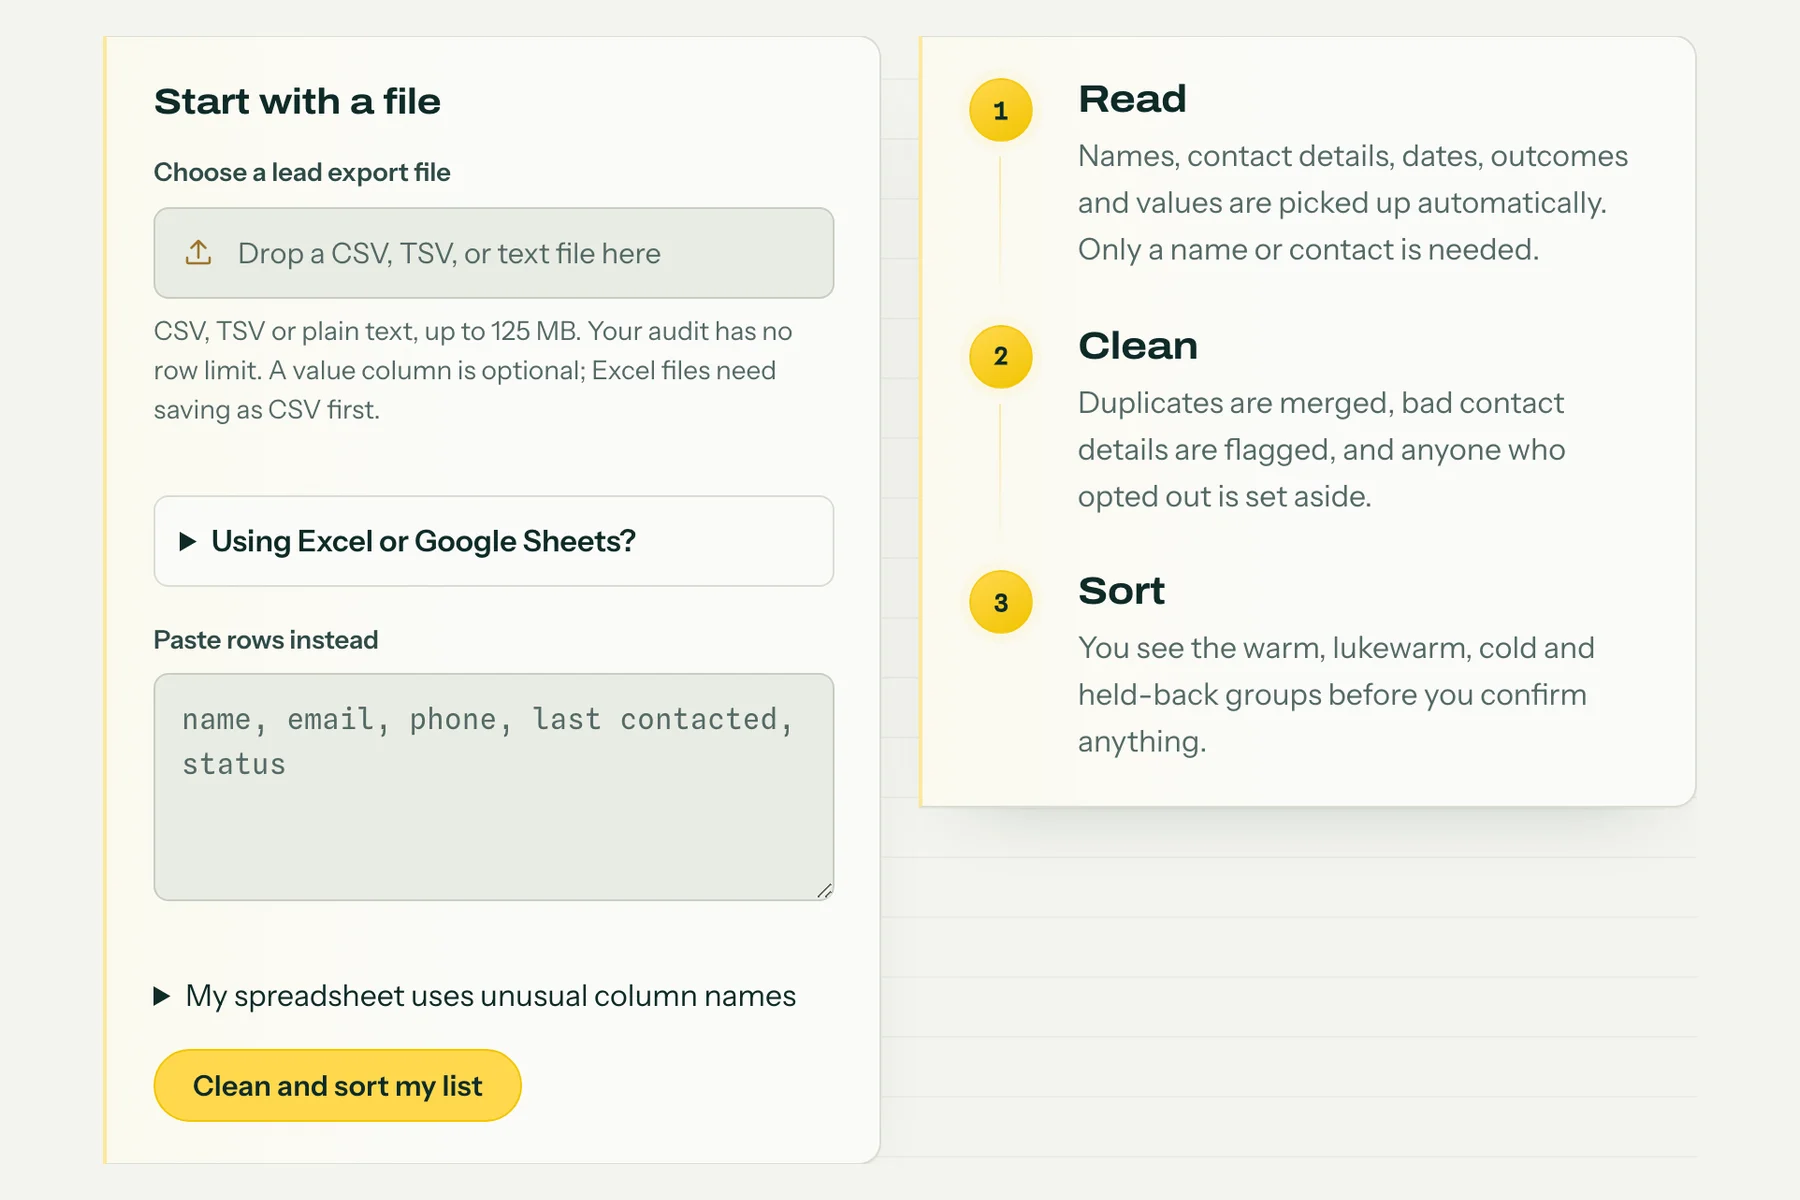
Upload your full export. Confirming a list decides what the Desk works with; it sends nothing.
If something looks wrong
My file is Excel, PDF or a ZIP
For Excel, save or download a CSV copy. Extract a ZIP and inspect the files inside. A PDF or a picture is not a contact table; ask your source system for a CSV export. Renaming a file to .csv does not convert it.
Dates or columns look wrong in the preview
Stop before confirming. Check the column headings and use YYYY-MM-DD for dates, such as 2026-02-18. Do not use the export date as a last-contact date. If the source has no reliable date, leave it blank and review the result.
I do not know whether someone can be contacted
Keep the original restriction records. Do not turn an unknown or unsubscribed status into subscribed. The file preview does not establish permission. Ask for help before using those contacts for follow ups.
Still stuck? Ask for help with the app name and column headings. Do not send customer rows or passwords.
Official instructions
Checked 7 September 2026. These links include the provider’s own instructions and screenshots where available.