 Lead Recovery Desk
Email marketing platform
Bring the contact restrictions with the list.
Your old email platform may hold the most useful unsubscribe and bounce records. Preserve them when you export so they are not lost during preparation.
Before you begin
Find the audience or list for this business. Keep the original export and any separate restriction files. These instructions prepare a file; they do not connect the platform to LRD.
Work on a copy. Keep the original export safe. Remove unwanted rows and sensitive columns from the copy you will upload.
A reviewed CSV copy plus the original restriction records. If statuses are split across files, resolve them before using the list for follow ups.
A CSV is a simple table saved as a file. It is not an email campaign.
Prepare your file
Use the instructions for your app. Menu names can differ by version and account permissions.
Choose the correct audience
Select the list for the same business and purpose. Avoid mixing brands or treating all contacts as subscribed. Include the available status information and keep existing restrictions.
Export contacts with their statuses
In Mailchimp, open Audience, choose the audience if needed, then More options → Export audience. Download the export when it is ready. Other platforms have their own export menus; use their official help.
Open every file in the export
Mailchimp may download a ZIP containing separate CSVs for subscribed, non-subscribed, unsubscribed and cleaned contacts. Extract the ZIP and inspect each file. Do not upload only subscribed.csv and forget the restrictions.
Preserve the meaning of each status
If a status is recorded only in the filename, retain that information in your working records. Do not assume any unfamiliar status will be interpreted correctly by LRD. Ask for help mapping it before confirming.
Cleaned, bounced and unsubscribed can mean different things. None should be silently converted to subscribed. Do not strip suppression records to make an import pass.
Keep the relevant dates and fields
Keep email, source status and known opt-out records. A signup, last changed or export date is not necessarily the last time you contacted someone. Remove tracking scores, unnecessary location data and private notes from the upload copy.
Preview, then inspect restrictions
Check the columns and known opted-out records in the preview. If the result does not preserve a restriction, stop and ask for help. A successful upload or an active subscription does not establish permission for a new campaign.
What your file should look like
Original LRD example with invented contacts. This illustrates the file you are preparing, not your provider’s screen.
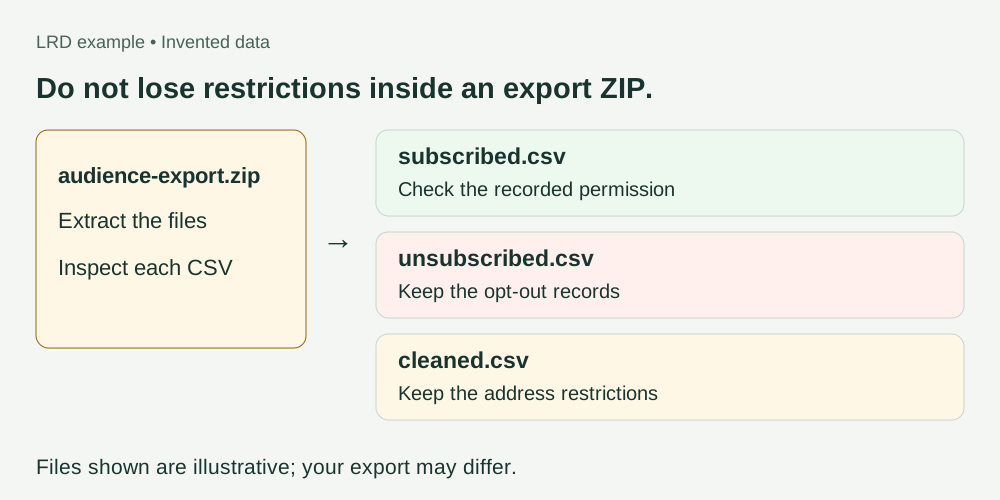
Keep it useful. Keep it private.
Keep the information needed for review and any known contact restrictions. Do not invent missing dates or permission.
Keep in your working copy
- email: the contact’s email address
- name: the person or business name, if useful
- last_contacted: a real last-contact date, if known
- status: preserve known unsubscribes, bounces and do-not-contact records
- source: where the record came from
- Original unsubscribe and bounce records, even if exported separately
Leave out of the upload
- Staff, suppliers and personal contacts
- Sensitive notes, health information and information about children
- Passwords, payment details and unnecessary addresses
- Engagement ratings and unnecessary tracking data
Next: preview it in LRD
Check the detected columns, dates and restrictions before confirming anything. Use last_contacted for the last contact date and status for a contact’s recorded status.
CSV, TSV or plain text. Excel workbooks and ZIP files cannot be uploaded directly. Free previews share a 100-row allowance each calendar month across all lists.
Warm, Lukewarm and Cold group contacts by recency. They do not prove permission to contact someone. A file preview sends nothing.
Preview my list free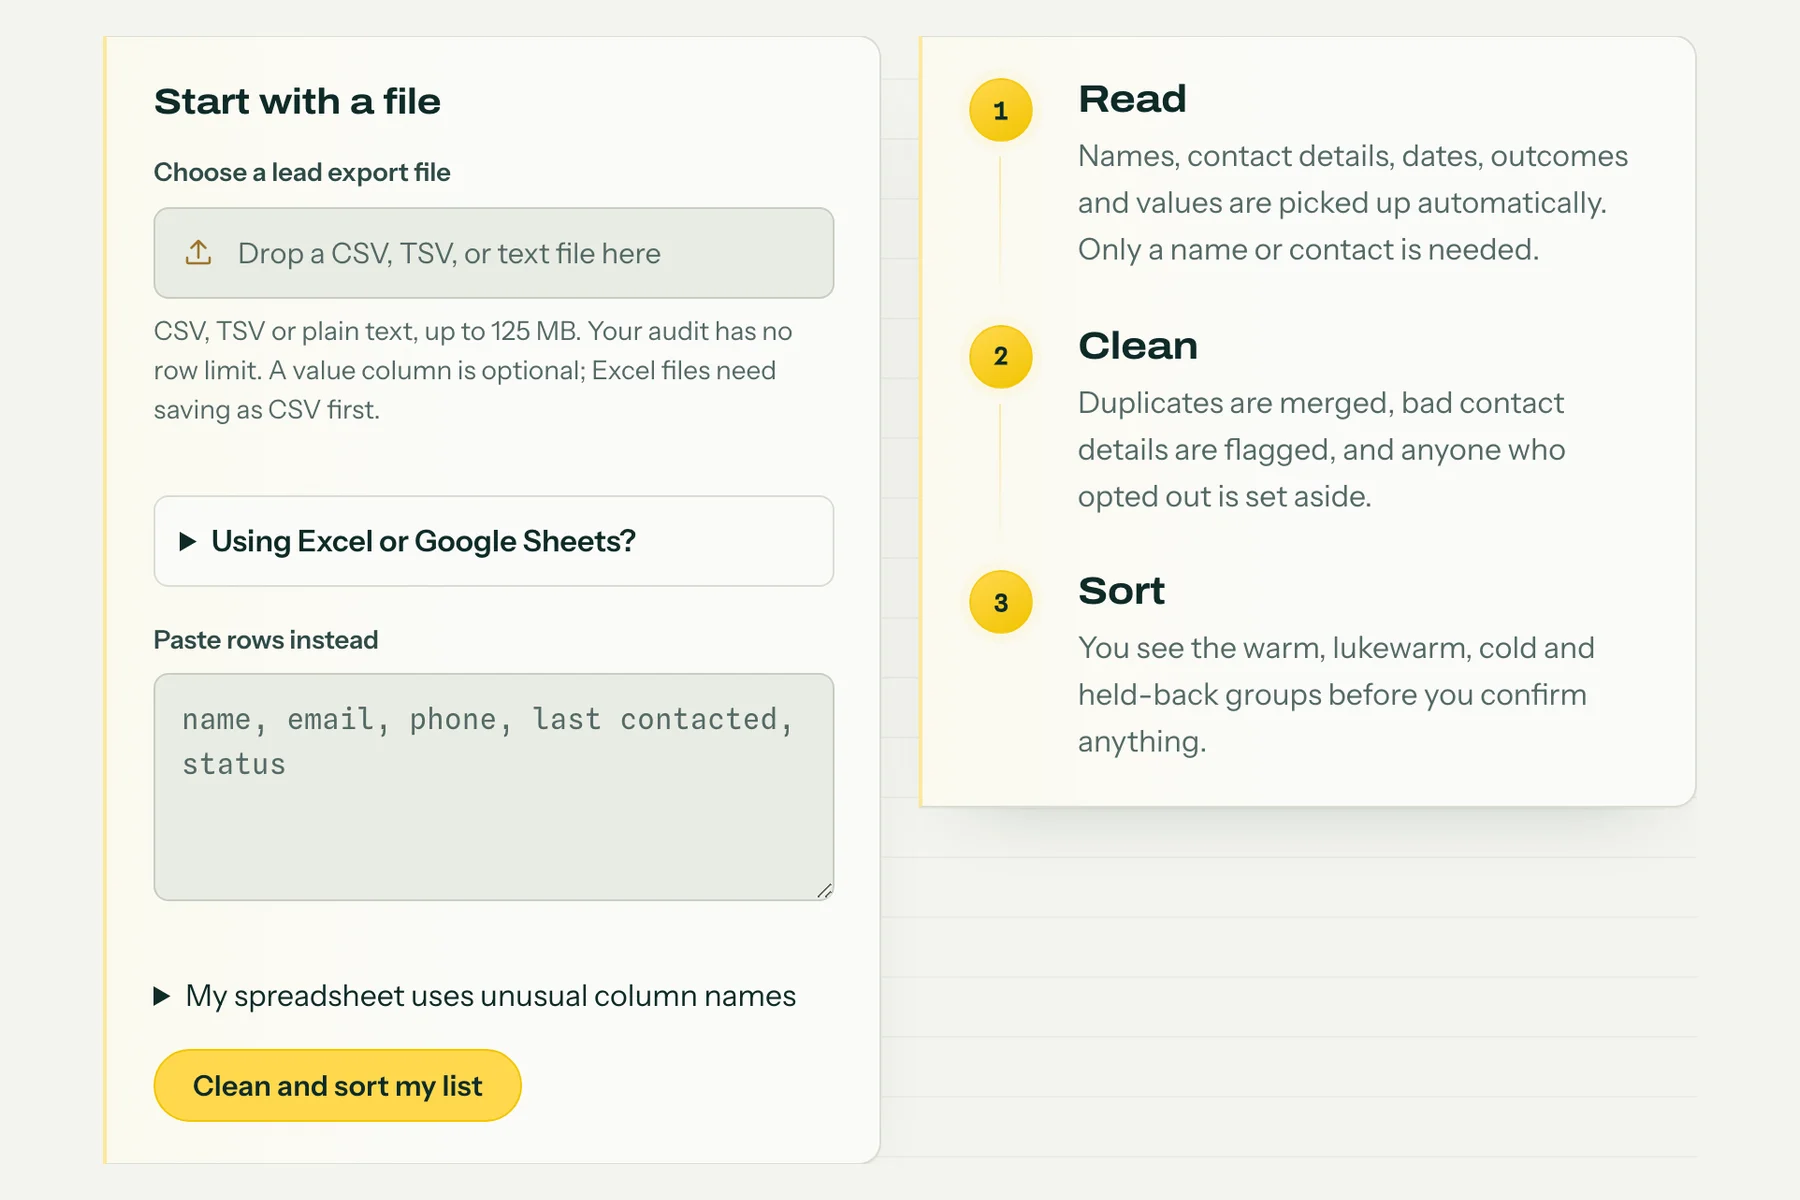
Upload your full export. Confirming a list decides what the Desk works with; it sends nothing.
If something looks wrong
My export contains several CSV files
Keep them all as your reference. Do not upload the ZIP. Check how each file records subscription status. If you cannot make a working copy without losing restrictions or mixing meanings, ask for help before uploading.
My file is Excel, PDF or a ZIP
For Excel, save or download a CSV copy. Extract a ZIP and inspect the files inside. A PDF or a picture is not a contact table; ask your source system for a CSV export. Renaming a file to .csv does not convert it.
Dates or columns look wrong in the preview
Stop before confirming. Check the column headings and use YYYY-MM-DD for dates, such as 2026-02-18. Do not use the export date as a last-contact date. If the source has no reliable date, leave it blank and review the result.
I do not know whether someone can be contacted
Keep the original restriction records. Do not turn an unknown or unsubscribed status into subscribed. The file preview does not establish permission. Ask for help before using those contacts for follow ups.
Still stuck? Ask for help with the app name and column headings. Do not send customer rows or passwords.
Official instructions
Checked 7 September 2026. These links include the provider’s own instructions and screenshots where available.